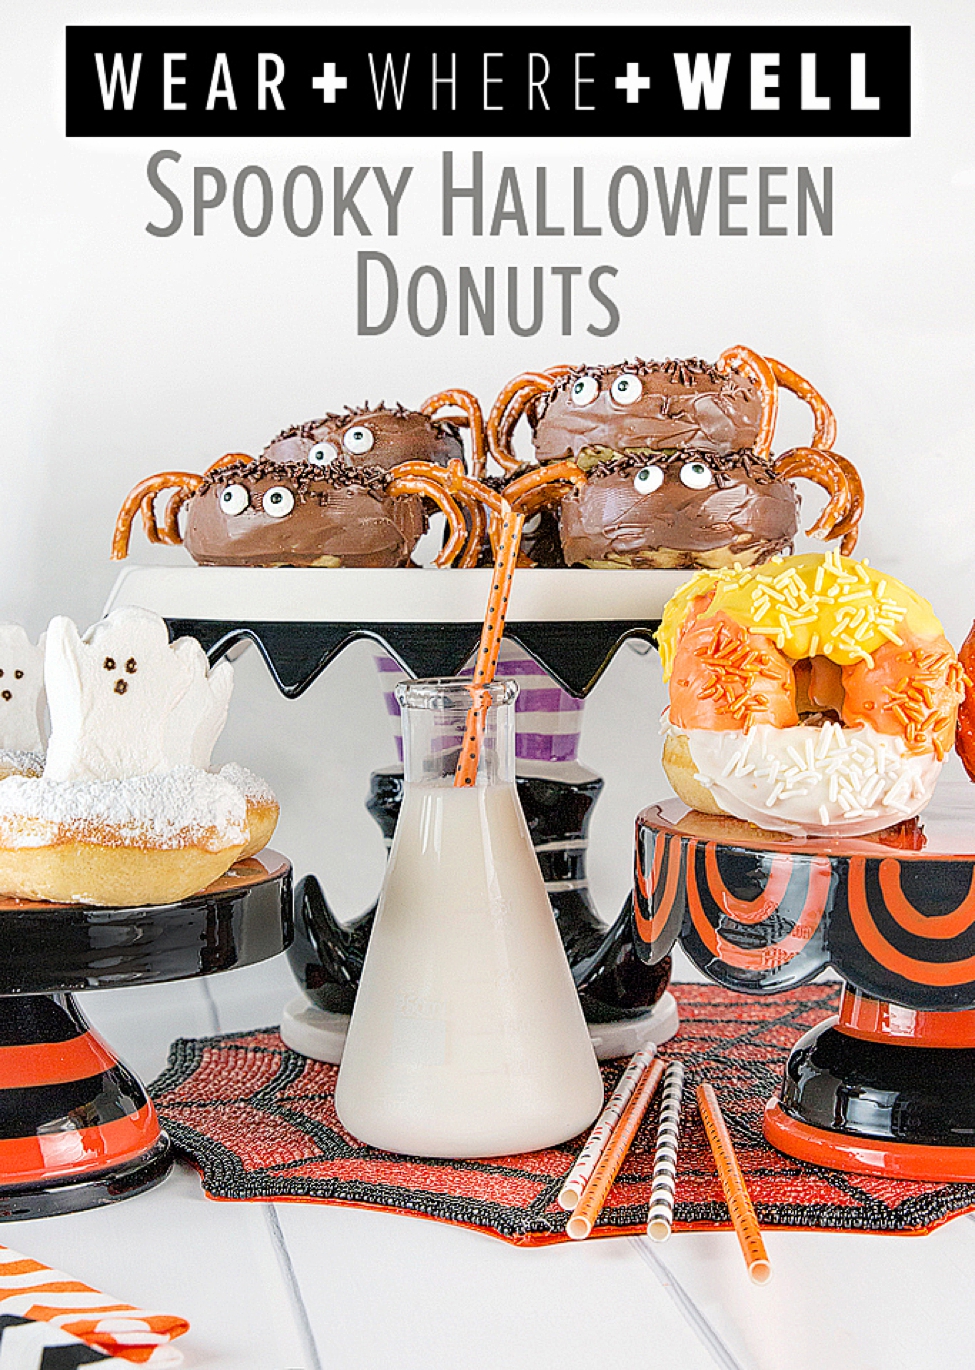
Spooky Halloween Donuts
Produced and written by food contributing editor Bella Bucchiotti
October is here, and you know what that means… Yes, indeed, Halloween is sneaking up on us! Whether you have a Halloween party planned or you just want to make some treats for your workmates, classmates or roommates…you need to try these Spooky Halloween Donuts.
Guess what? Baked donuts are way easier to make than you think. Plus, decorating them to create these Spooky Halloween Donuts is a fun, delicious way to spend the evening.
All of the Spooky Halloween Donuts use the same basic baked donut recipe. In fact, it’s a pretty foolproof recipe. Make sure you let the donuts cool completely before decorating them.
Instructions for baking the donuts as well as for decorating each of the donuts are shown below…
Baked Donut Recipe
- 2 2/3 cups all-purpose flour
- 1 1/2 tsp baking powder
- 1/4 tsp baking soda
- 1 tsp nutmeg
- 3/4 cup granulated sugar
- 1/2 cup milk
- 1/2 cup sour cream
- 2 eggs
- 1/4 cup unsalted butter, melted
- 1/4 cup vegetable oil
- 2 tsp vanilla
Directions
- Pre-heat oven to 425 degrees F. Spray the donut pan with cooking spray. Set aside.
- In a large bowl, mix the flour, baking powder, baking soda, nutmeg, and sugar. Set aside.
- In a medium bowl, combine the milk, sour cream, and eggs. Whisk until smooth.
- Incorporate in the melted butter, vegetable oil, and vanilla.
- Pour the wet ingredients into the dry ingredients. Stir until just combined. Be careful to not overmix.
- Put the donut batter into a large zip bag. Cut a small piece of the corner off the bottom of the bag and pipe the batter into each donut cup, filling about 3/4 full.
- Bake for 10 minutes or until the edges are a light gold. Remove from the pan and set aside to completely cool.
Spider Donuts
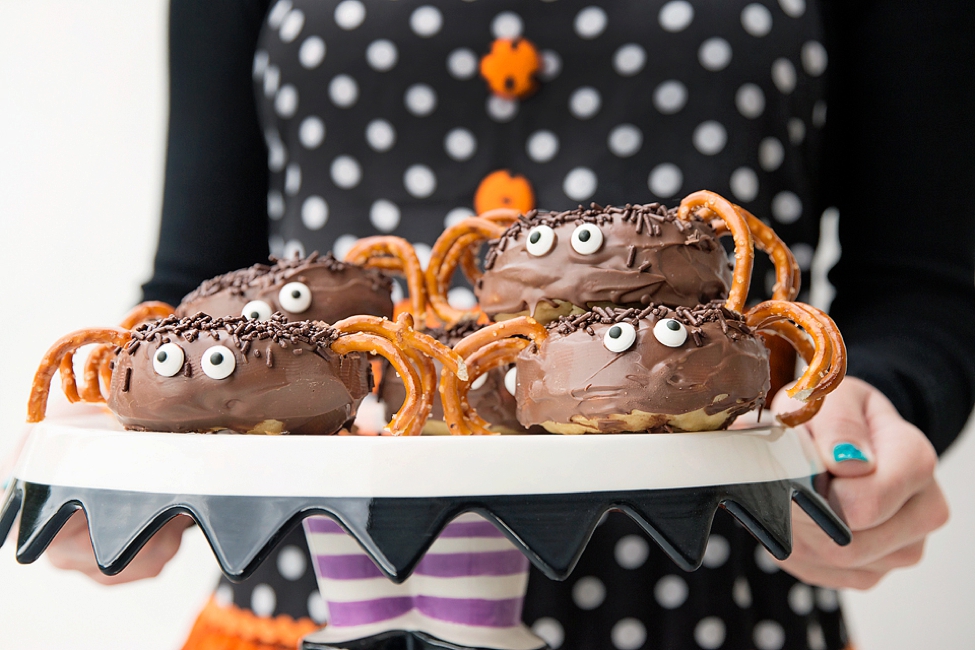
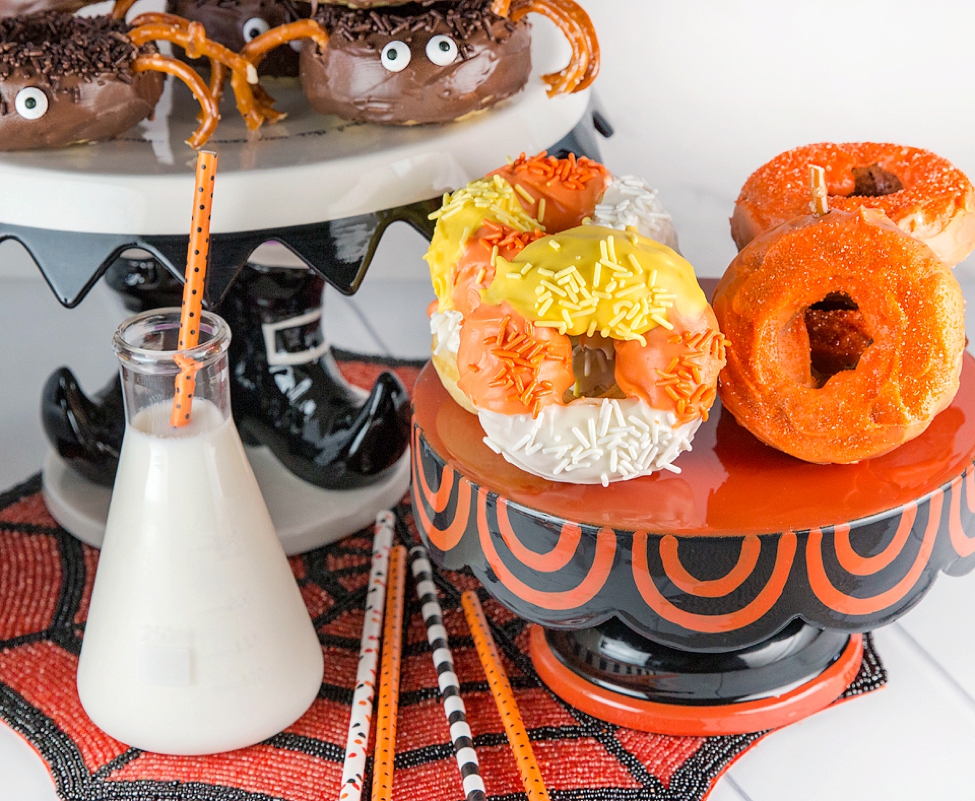
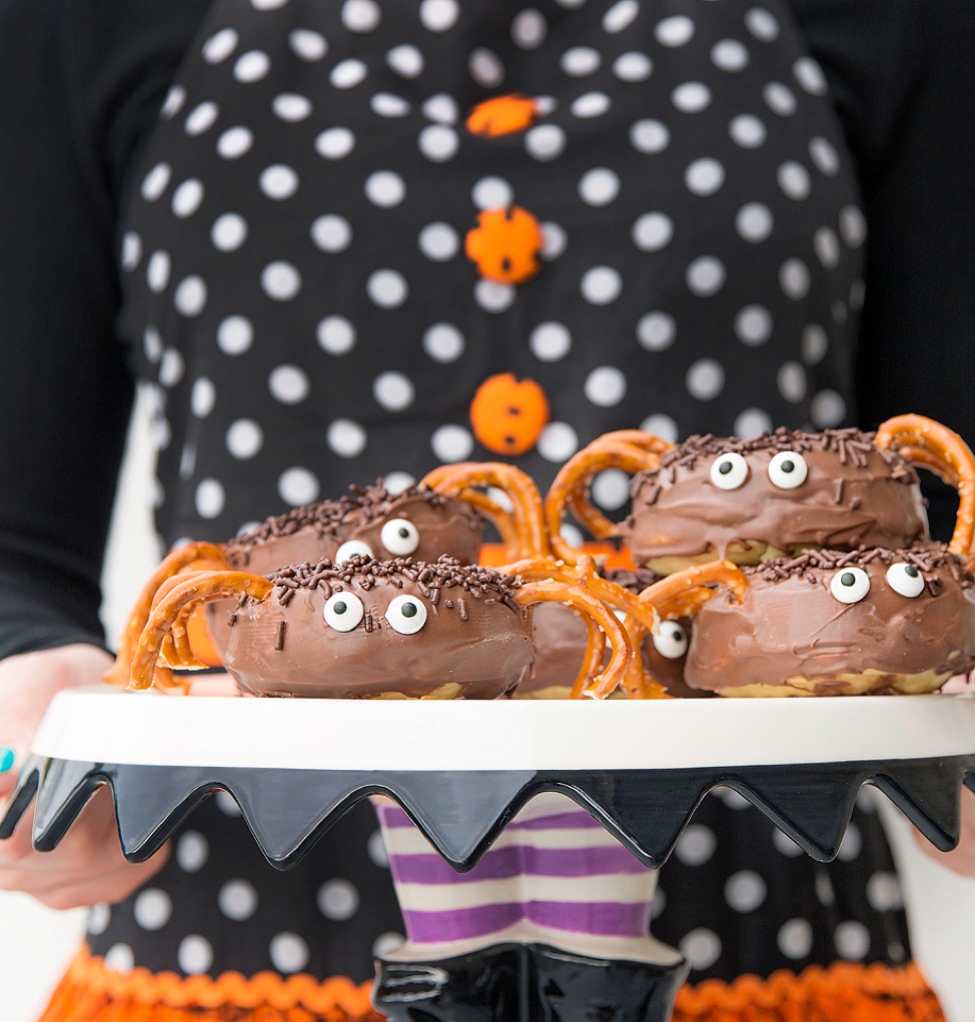
These (not so) spooky spider donuts are almost too cute to eat. I suggest making two batches of these because are bound to be a hit. Trust me – no arachnophobia for these!
- 6 baked donuts
- 1 cup chocolate candy melts
- Candy eyeballs
- Chocolate sprinkles
- Pretzel twists
- Place the baked donuts on a wire cooling rack with wax paper underneath.
- Then, in a small microwave-safe bowl, melt the candy melts in the microwave. Microwave in 30-second intervals, stirring in between. Stir until creamy.
- Next, using a butter or spreading knife, apply the melts on the top of each donut.
- Immediately add the candy eyeballs to the donut and sprinkle chocolate sprinkles on top. Set aside for the topping to harden.
- Finally, break pretzels into spider legs, making sure you have enough for each donut. Take a toothpick and create a small hole in the location you want each leg. Add the pretzel legs into that hole.
Ghost Donuts
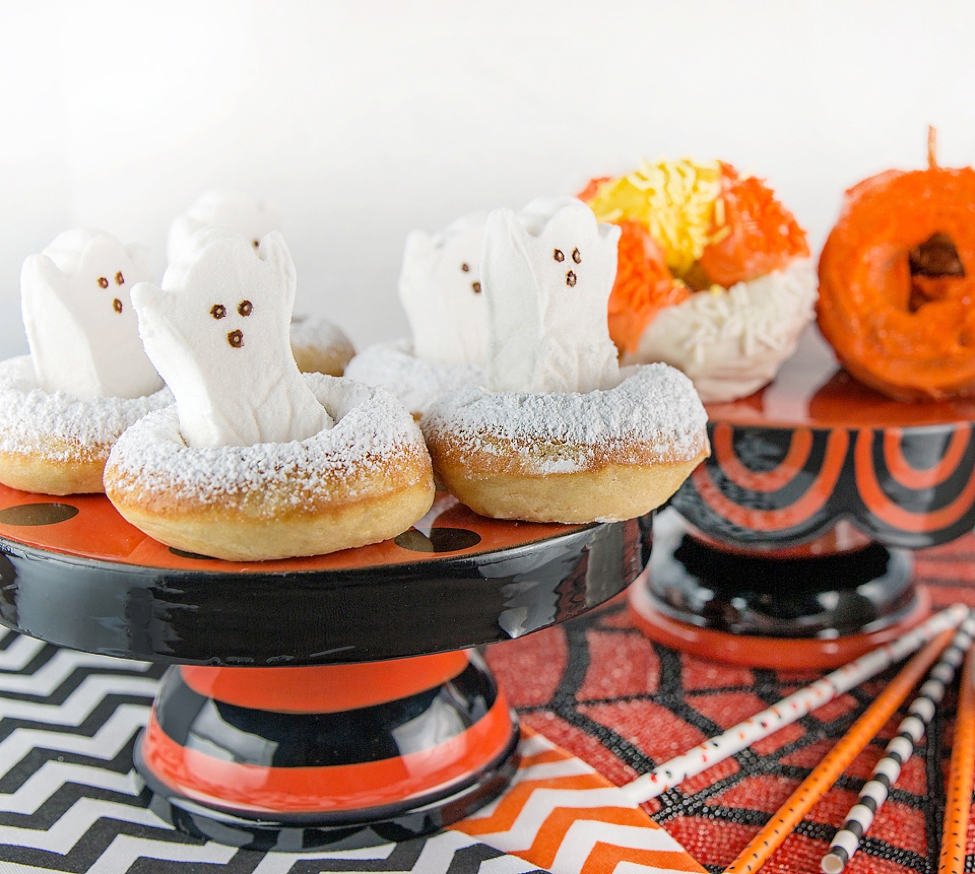
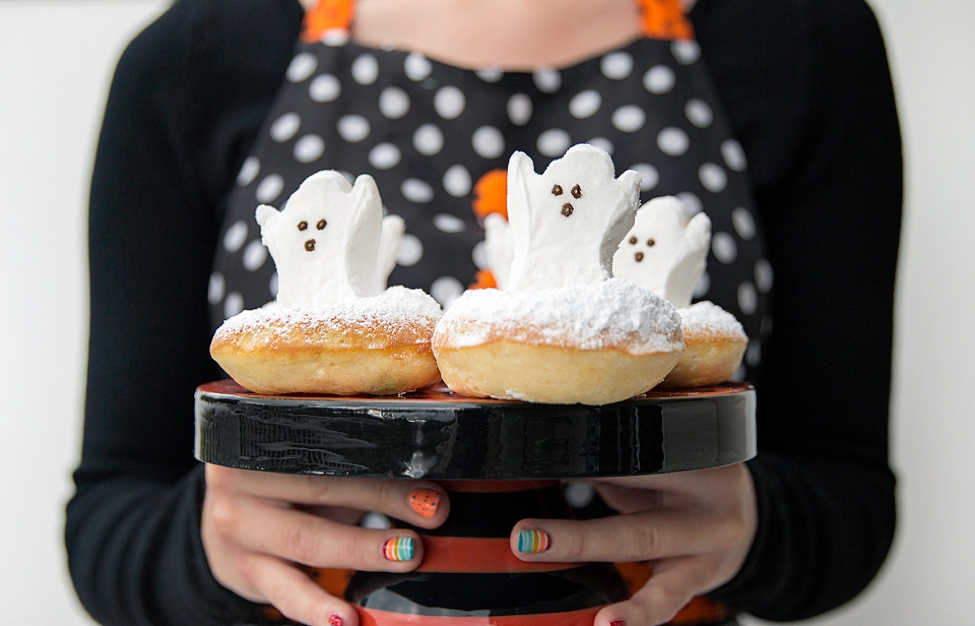
These ghost donuts are so incredibly easy to make. Seriously, so easy!
Furthermore, here’s an insider tip: If you want to make them even easier, substitute pre-made powdered donuts. Surprise someone special on October 31st with these sweet ghost donuts.
- 6 baked donuts
- Icing sugar
- 6 Peeps marshmallow ghosts
- First, place the baked donuts on a wire cooling rack with wax paper underneath.
- Then, dust the tops of donuts with icing sugar. Apply several layers until donuts are solid white.
- Next, insert a ghost Peep into the center of each donut.
Candy Corn Donuts
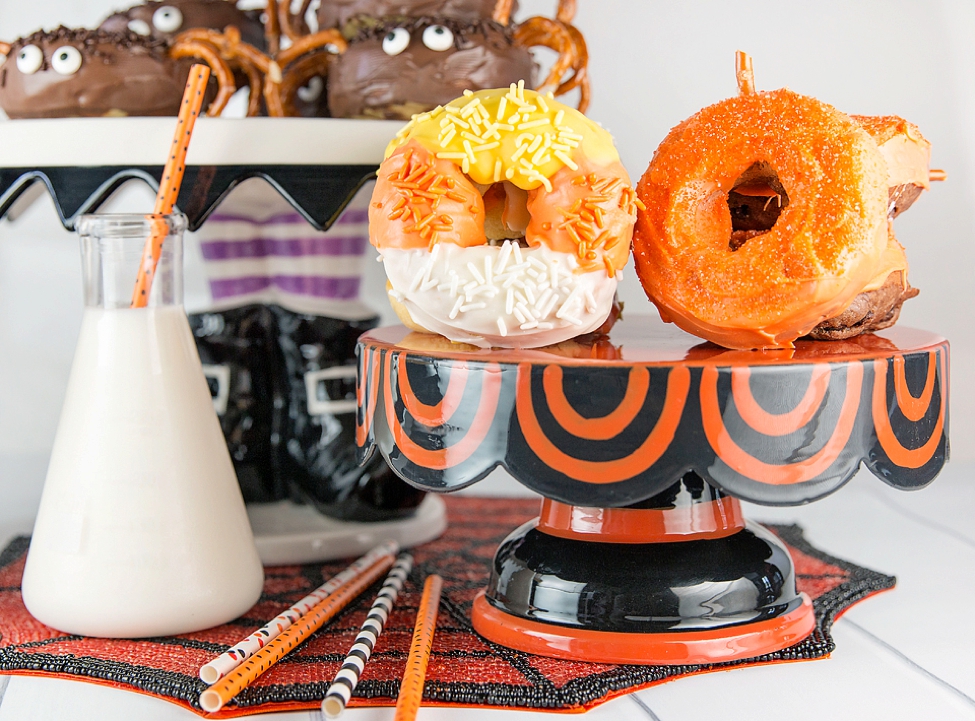
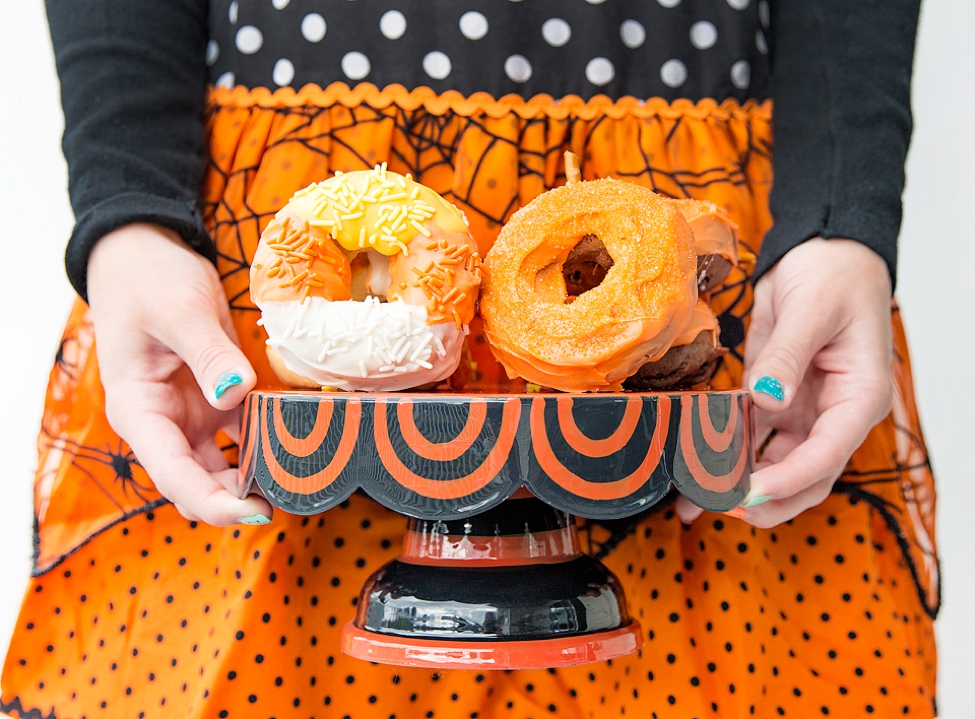
Candy corn is always a Halloween favorite! These tri-colored donuts have a colorful topping that is the perfect addition to any Halloween dessert table.
- 6 baked donuts
- 1/2 cup yellow candy melts
- 1/2 cup orange candy melts
- 1/2 cup white candy melts
- Sprinkles, yellow, orange and white
- First, place the baked donuts on a wire cooling rack with wax paper underneath.
- Then, in a small microwave-safe bowl, melt the candy melts in the microwave. Microwave in 30-second intervals, stirring in between. Stir until creamy.
- Drizzle the first color of candy melt on the top of each donut and apply coordinating sprinkles. Then, repeat for the other two colors.
Pumpkin Donuts
Lastly, these little pumpkins are sparkly orange treats that kids of all ages will be grabbing for. If you can’t find the sanding sugar sprinkles, regular orange ones will work just fine.
- 6 baked donuts
- 1 cup orange candy melts
- Orange sanding sugar sprinkles
- Pretzels
- Once again, place the baked donuts on a wire cooling rack with wax paper underneath.
- In the meantime, in a small microwave-safe bowl, melt the candy melts in the microwave. Microwave in 30-second intervals, stirring in between. Stir until creamy.
- Then, drizzle the orange candy melts on the top of each donut and apply the sanding sugar sprinkles.
- Finally, break pretzels to create a small stem for each donut. Use a toothpick to create a small hole in the location you want the stem. Lastly, add the pretzel stem into that hole.
So, what do you think, friends? When you try these delicious Halloween donuts, let us know how they turn out!


Awww this is so cute!!! I did such a great job.. lol
http://xoxobella.com
LOL – cute donuts from a cute girl! Or, spooky donuts from a spooky girl? 😉
Ok this is seriously the cutest thing Carrie!!! Loving the recipes!! <3
xoxo Amanda
The Miller Affect, a Fashion Blog by Amanda Miller
Oh good! Thanks so much. Bella is killing it. And I’m learning some things along the way. LOL
These are SO cute – just love them!!
Thanks, Kathryn! We appreciate you stopping by and saying that.
Oh my goodness, these look amazing!
Aren’t they adorable? And fairly easy to make too!
Such a cute idea Carrie – My kids would love to try these 😉
Yes! Your kids would totally love this. Can be replicated easily.
This is so fantastic, Bella and Carrie! Makes me want to head to kitchen and start baking right away…! Have a lovely weekend! 🙂
Ah thanks for saying that, Will! That means a lot coming from you. 🙂
Delicius recipie, great ideas!
Love it! Thanks!
Thanks, mamita! 🙂