November 18, 2017

6 Tips for Hosting a Pop Art Inspired Colorful Friendsgiving

Splatter pumpkin planters, color blocked napkin rings, painted rainbow plates and more.

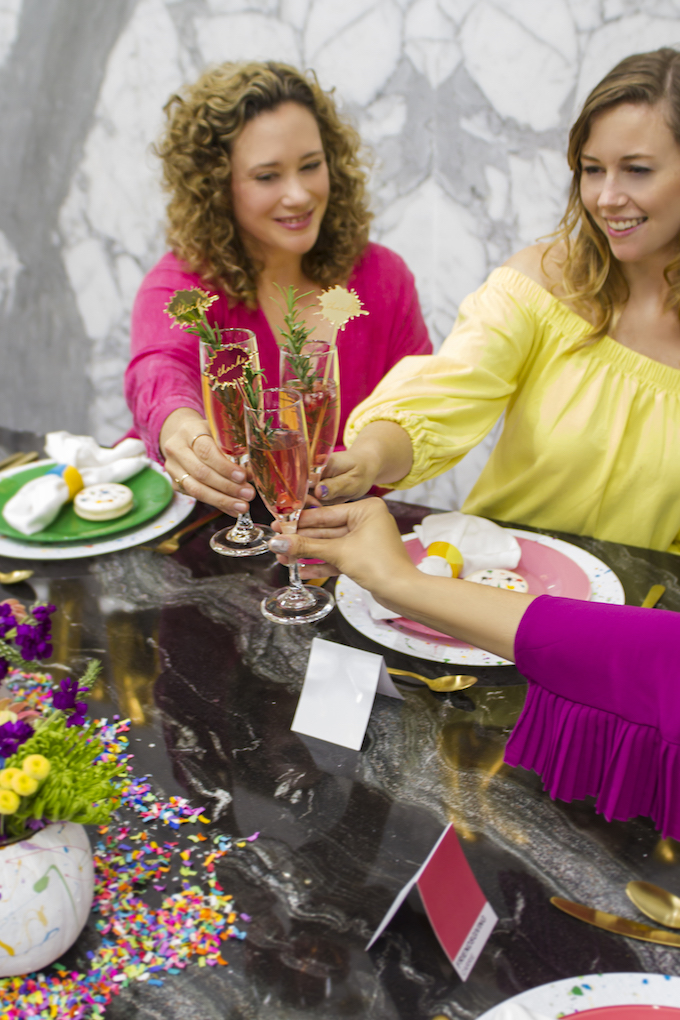
The Most Colorful Friendsgiving

Can you even believe it? Thanksgiving is just days away! We’re all about Friendsgiving, with a table full of not only family, but also dear friends.

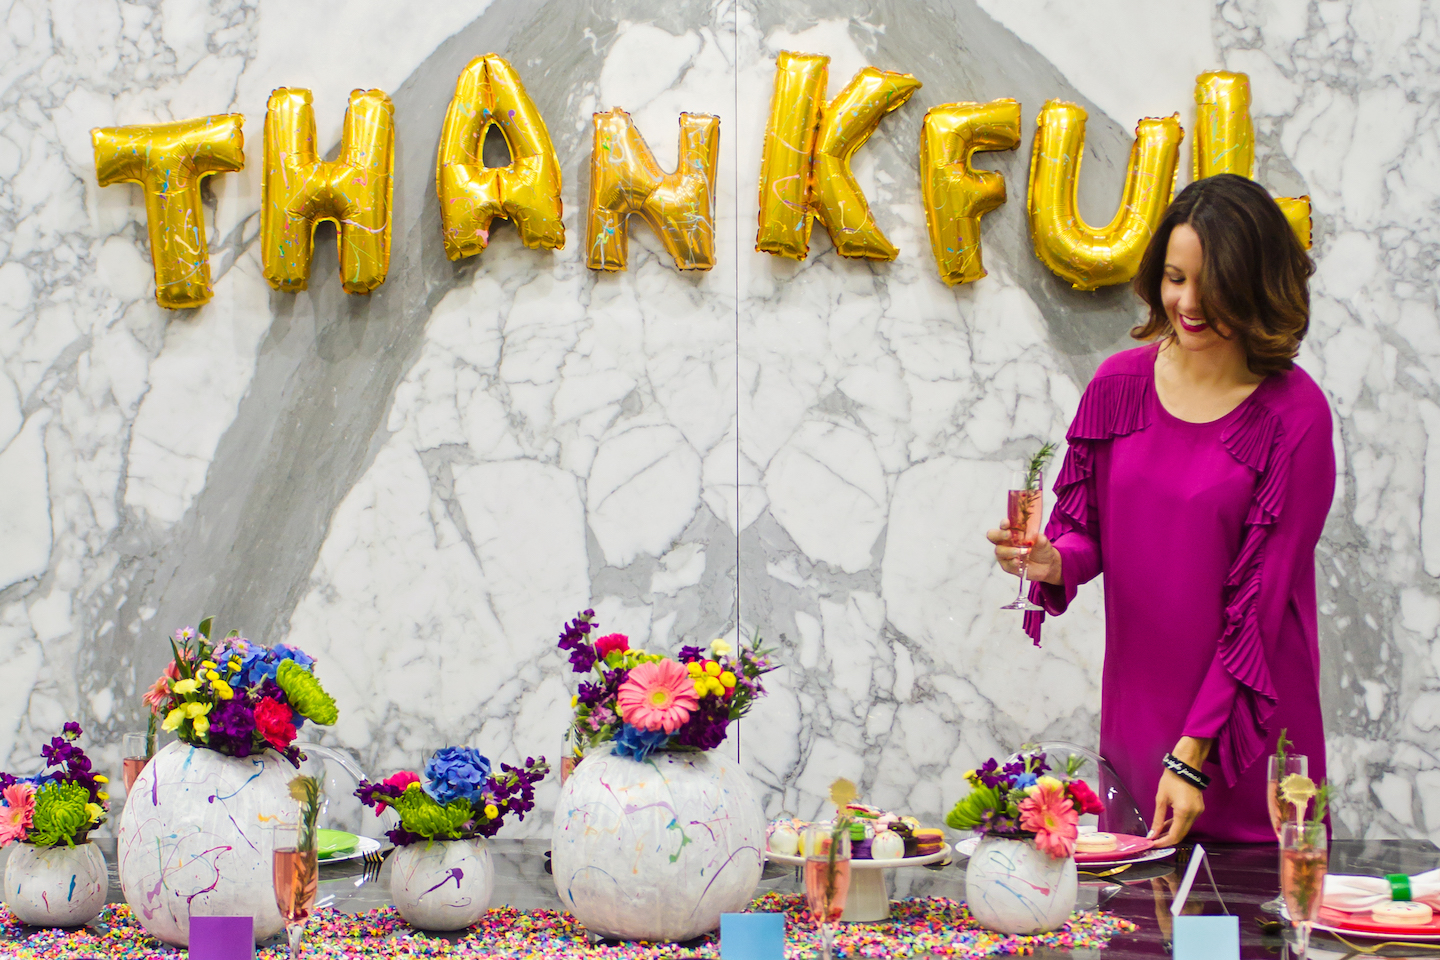
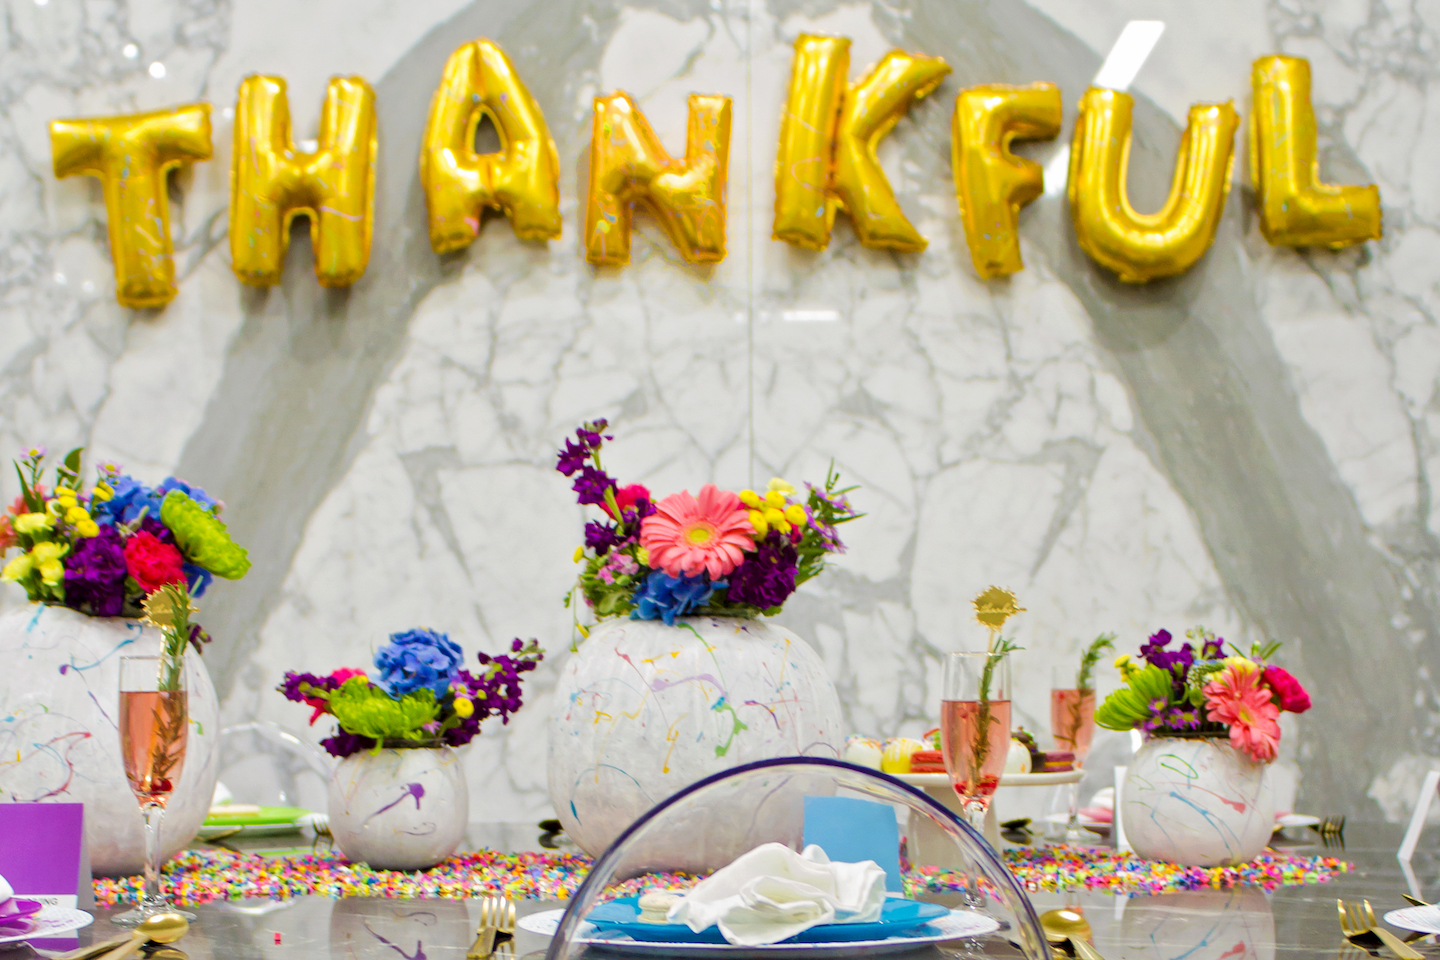
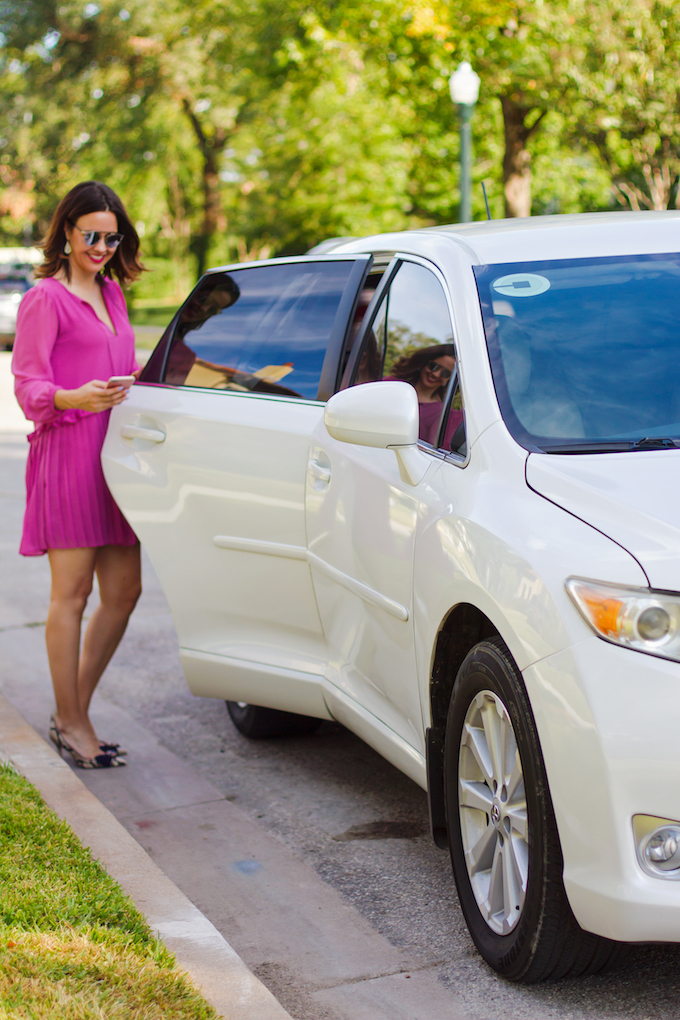
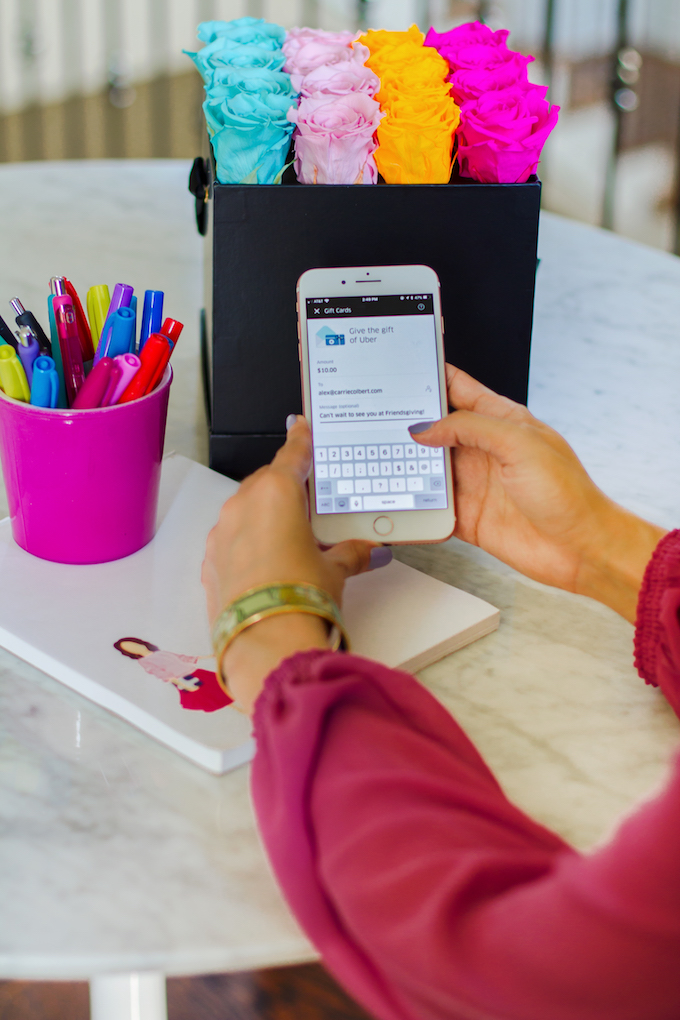
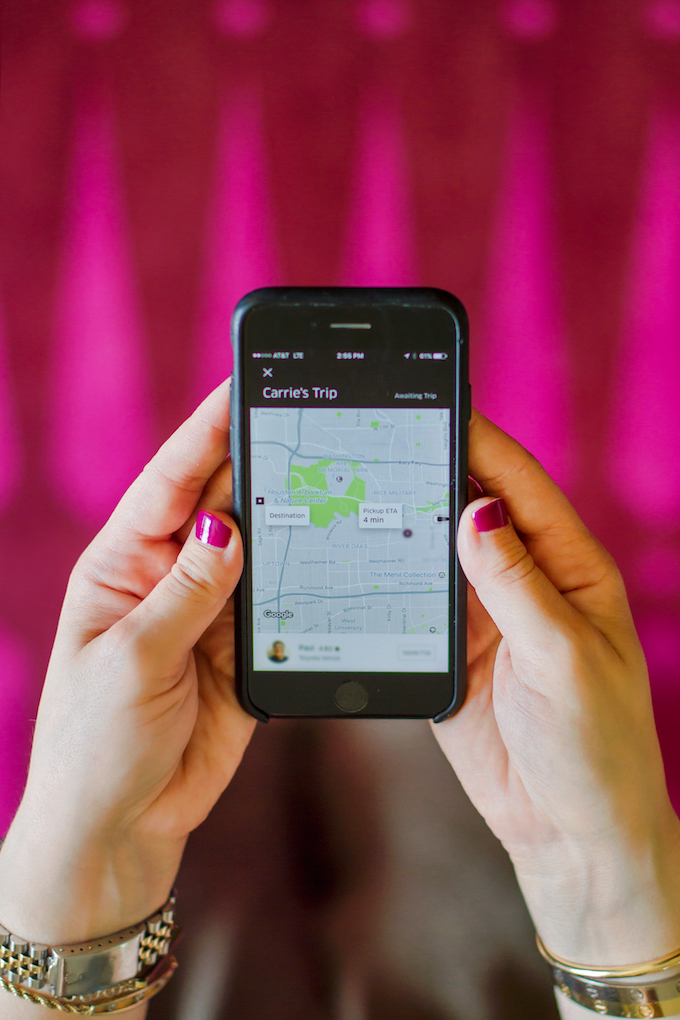
Before we get to all the colorful ideas, we want to send a huge thank you to Uber for sponsoring our Friendsgiving and Aria Stone Gallery for opening up their gorgeous space. Read to the end for some useful tips on using Uber for your own holiday plans.

Okay – now check out our ideas for hosting the most colorful Friendsgiving ever!

The Inspiration Behind Our Friendsgiving Shoot

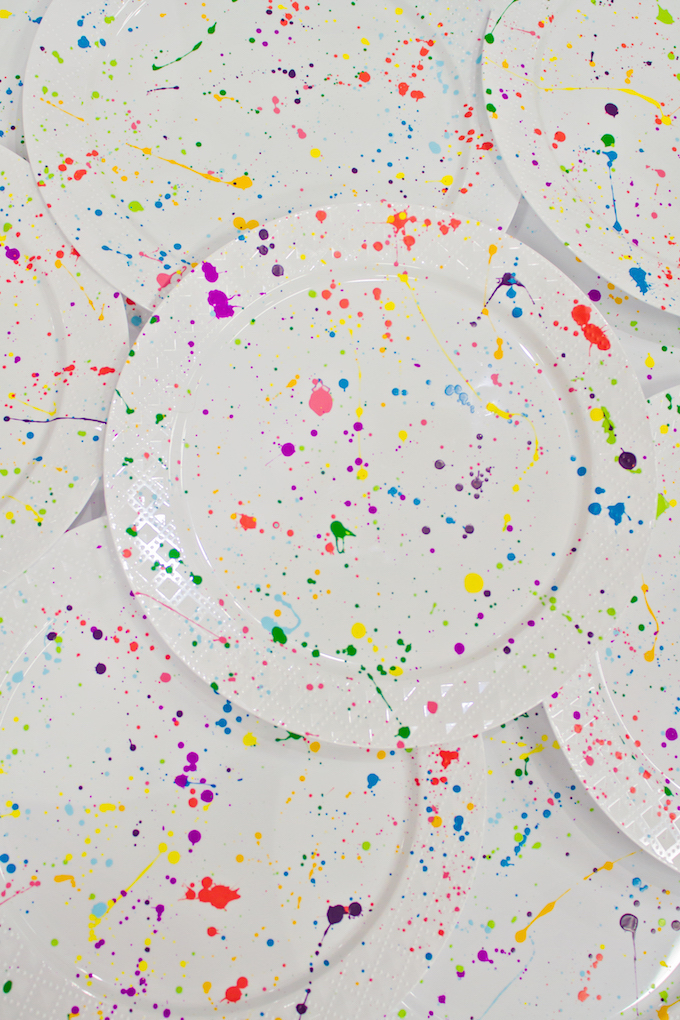
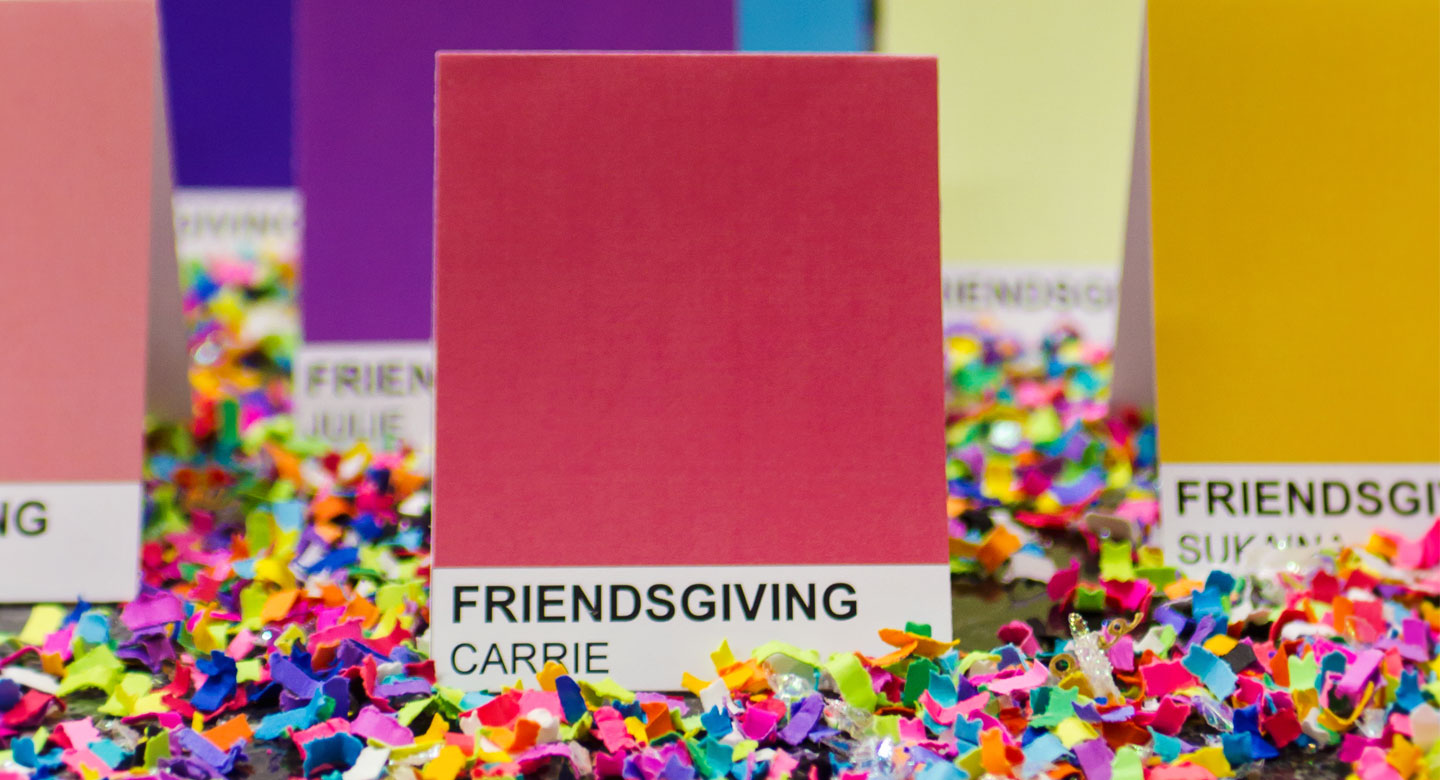
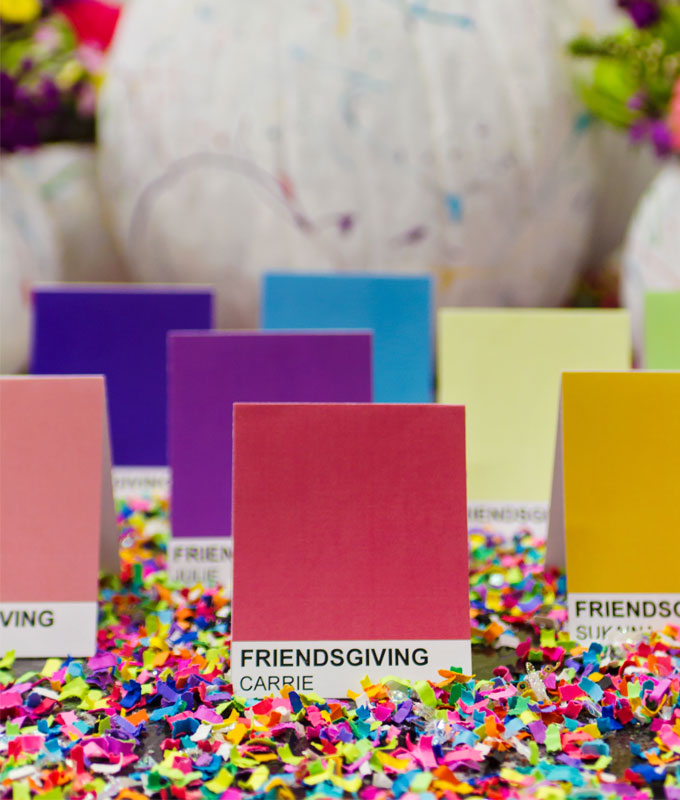
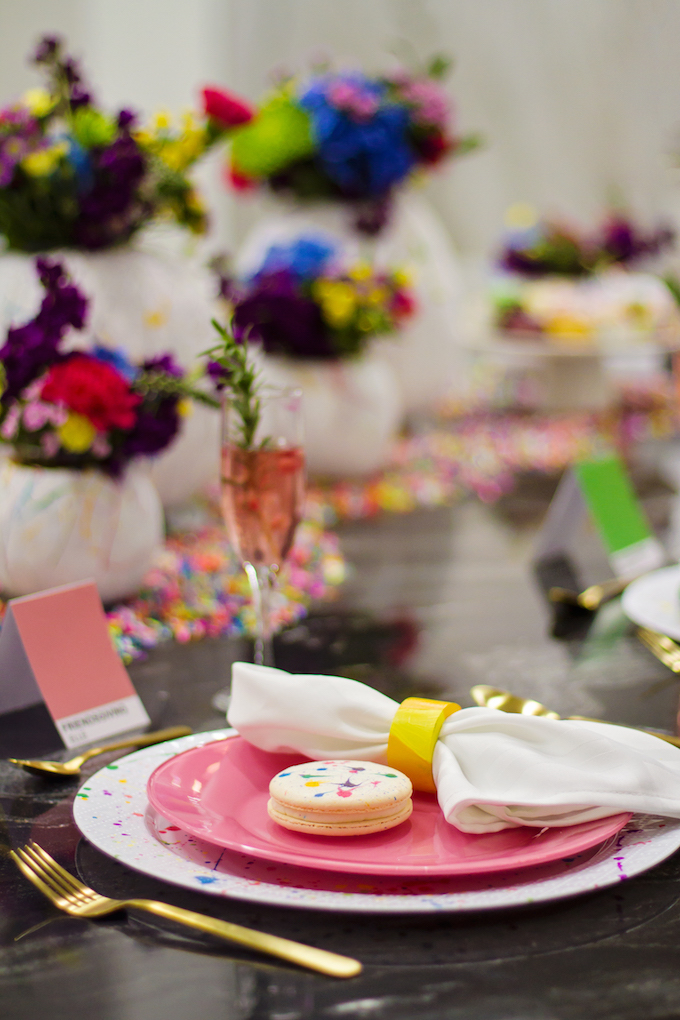
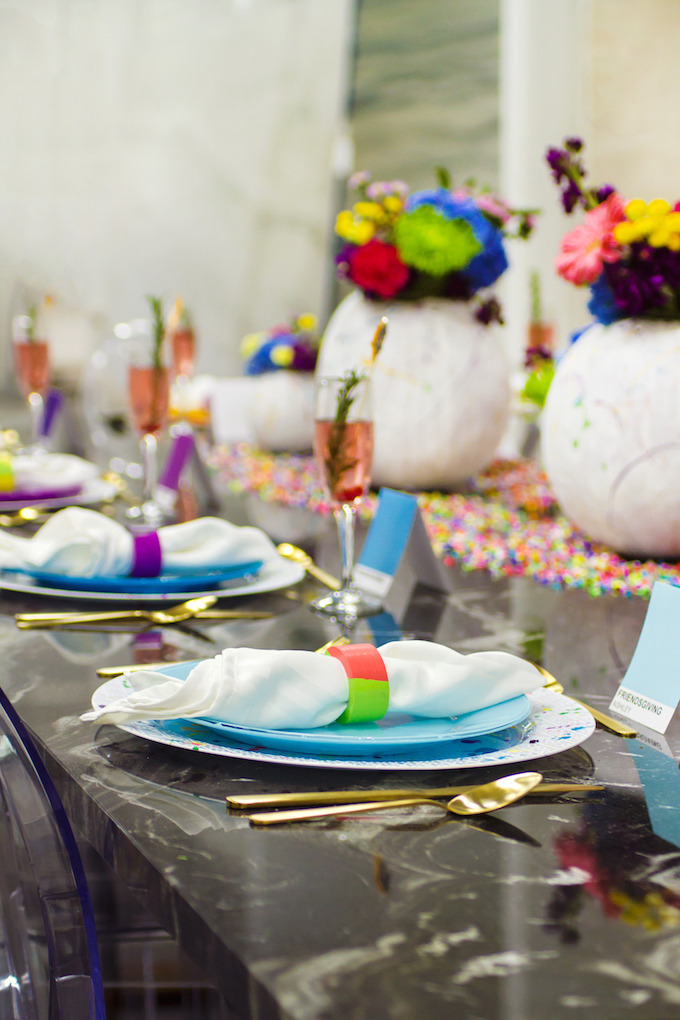
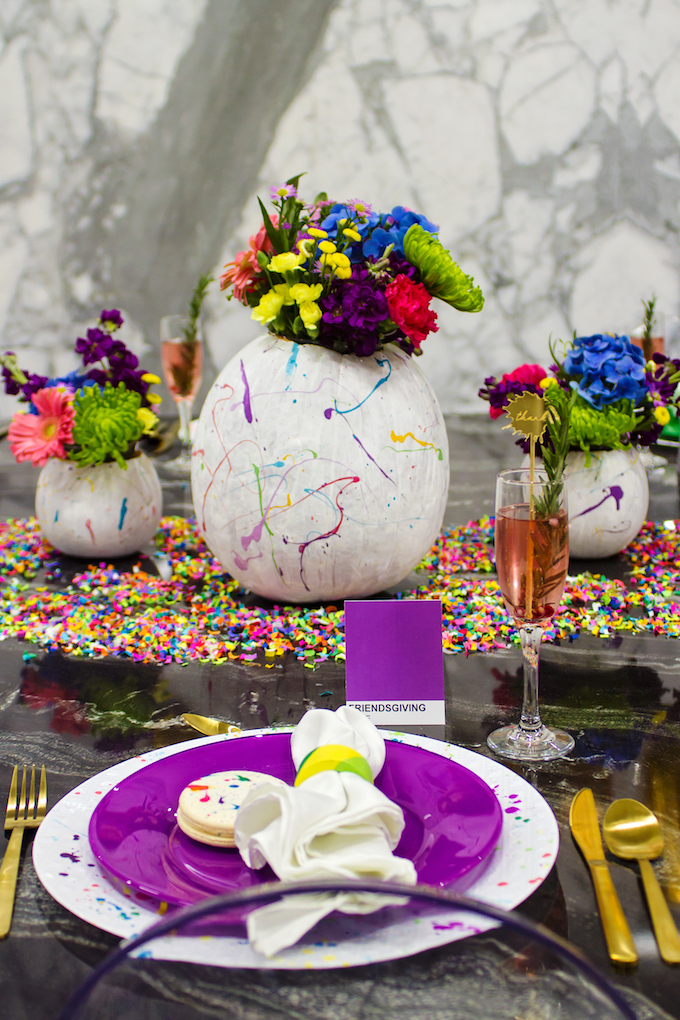
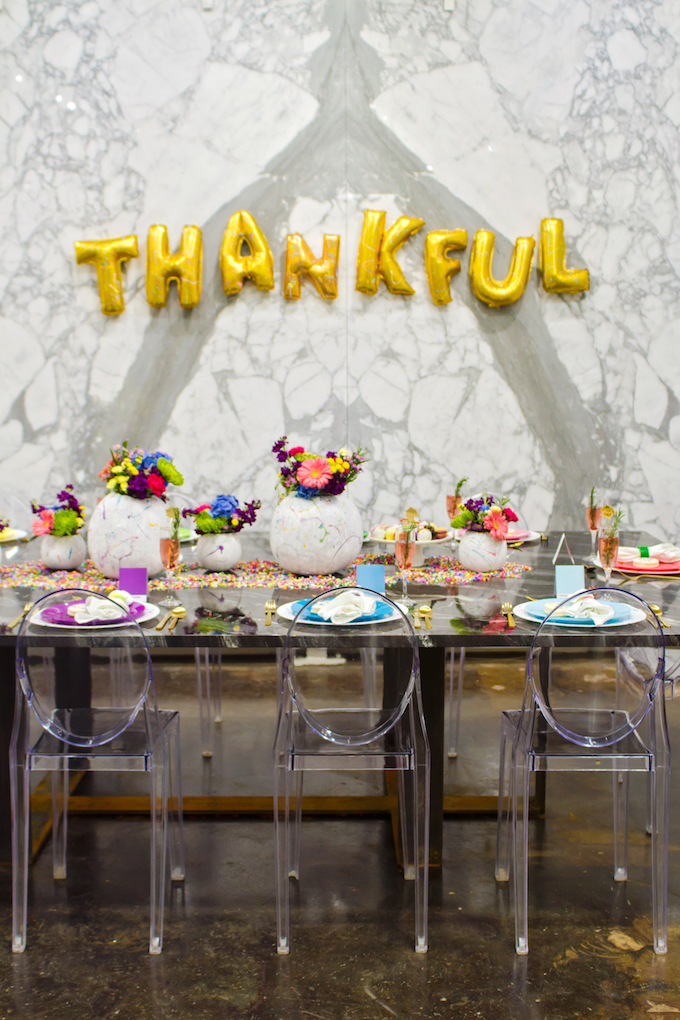
When it came to thinking about our Friendsgiving set up, you’ll never believe where we found our inspiration! Placemats! Yes, we were inspired by placemats. See, inspiration really can strike anywhere at anytime. 

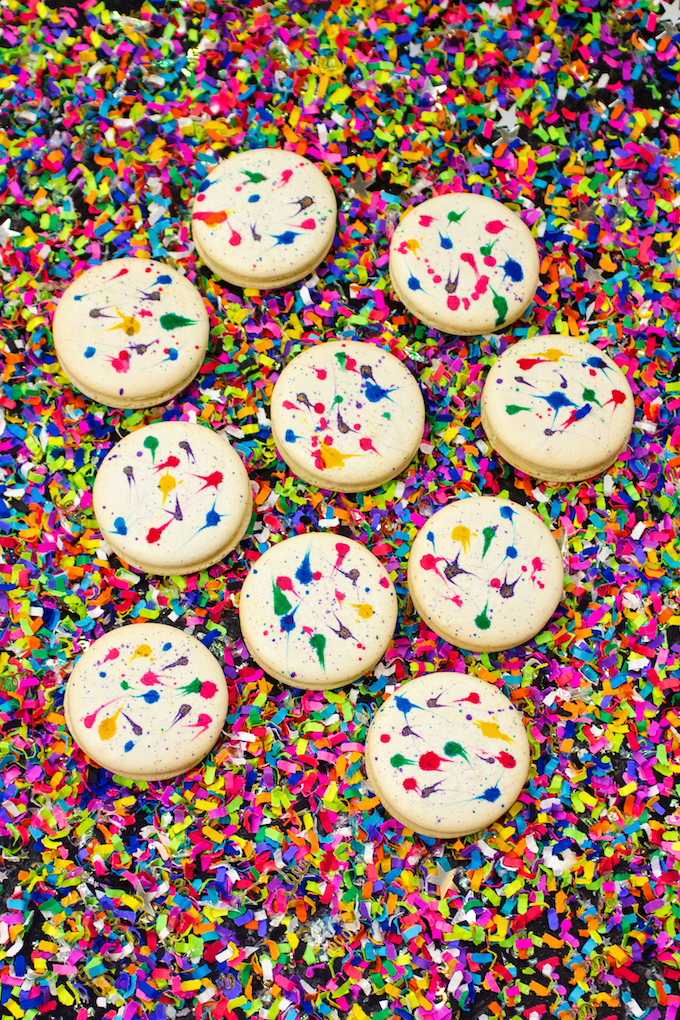
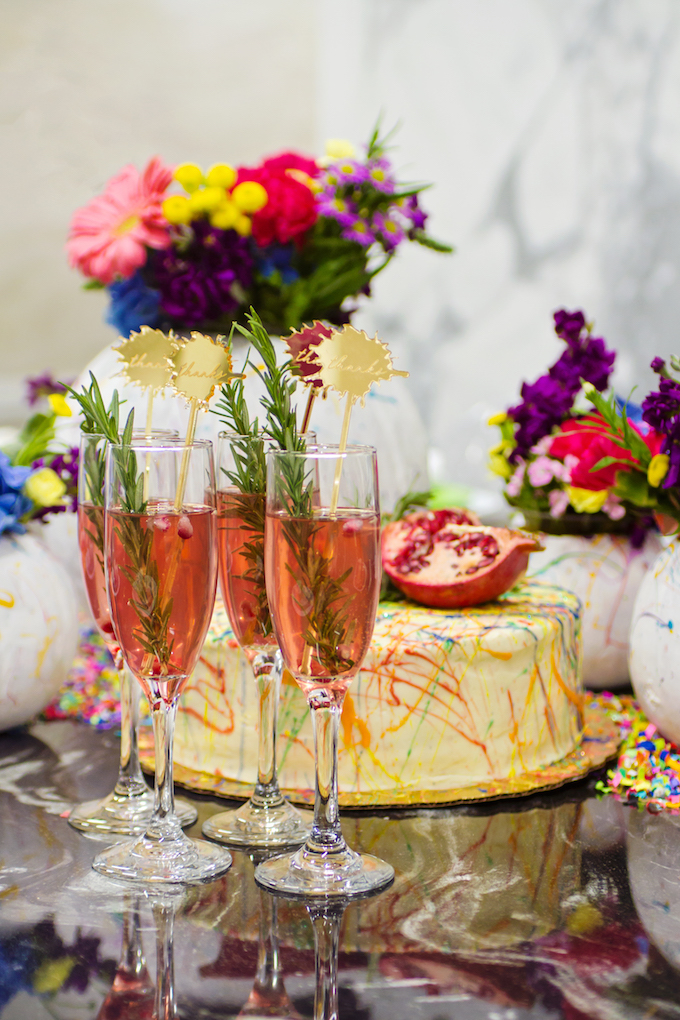
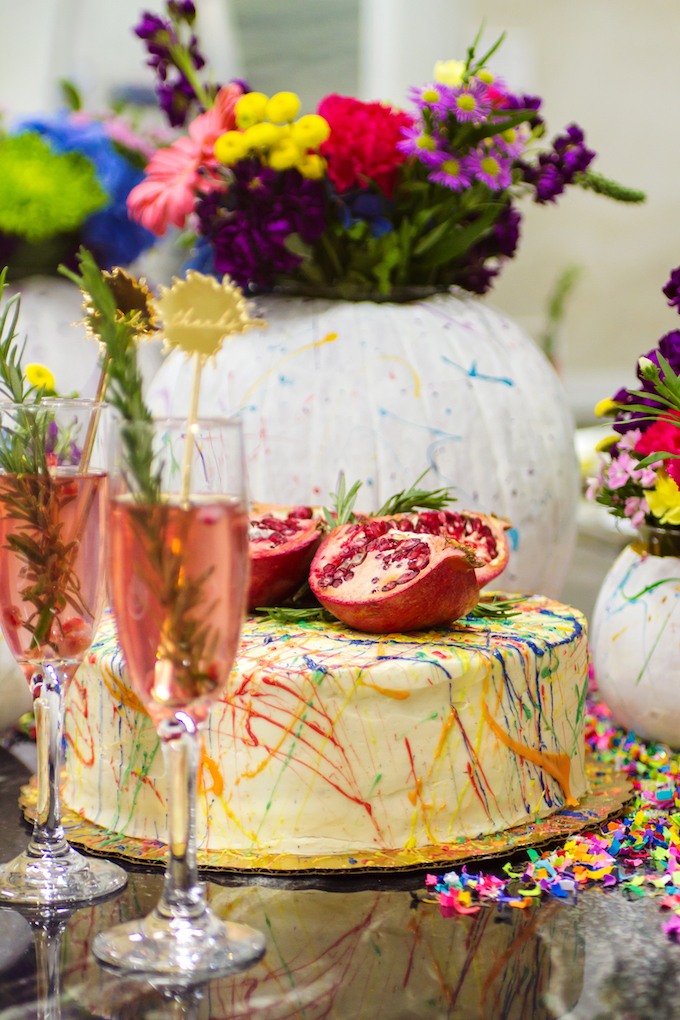
Lisa Perry’s reversible paint splatter placemats (as well as her entire fall collection, really) inspired the pop art, colorful theme.

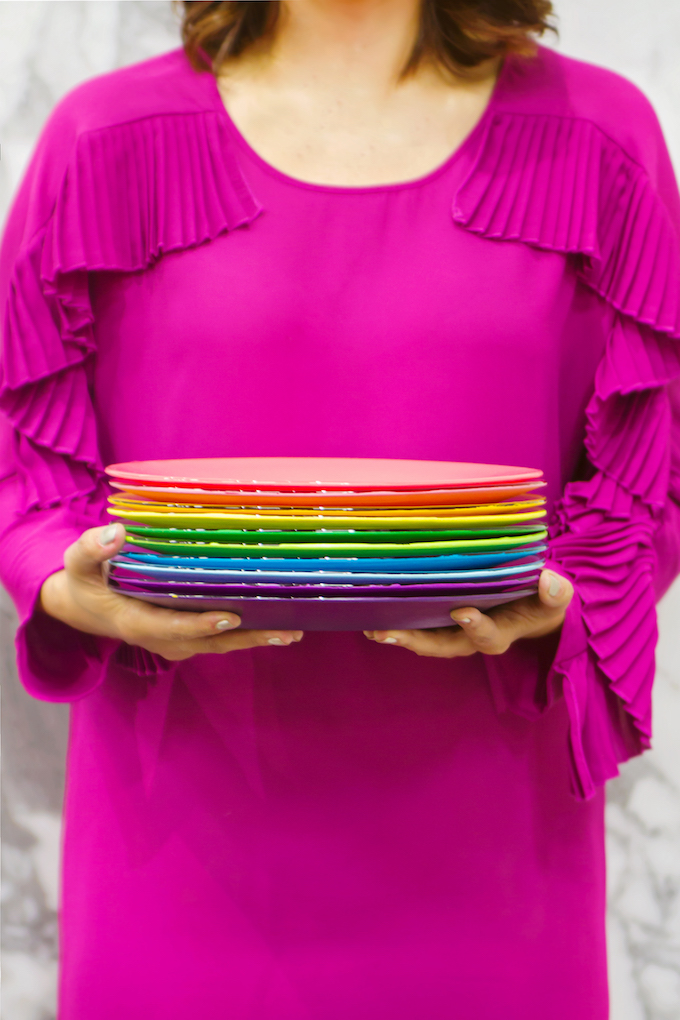
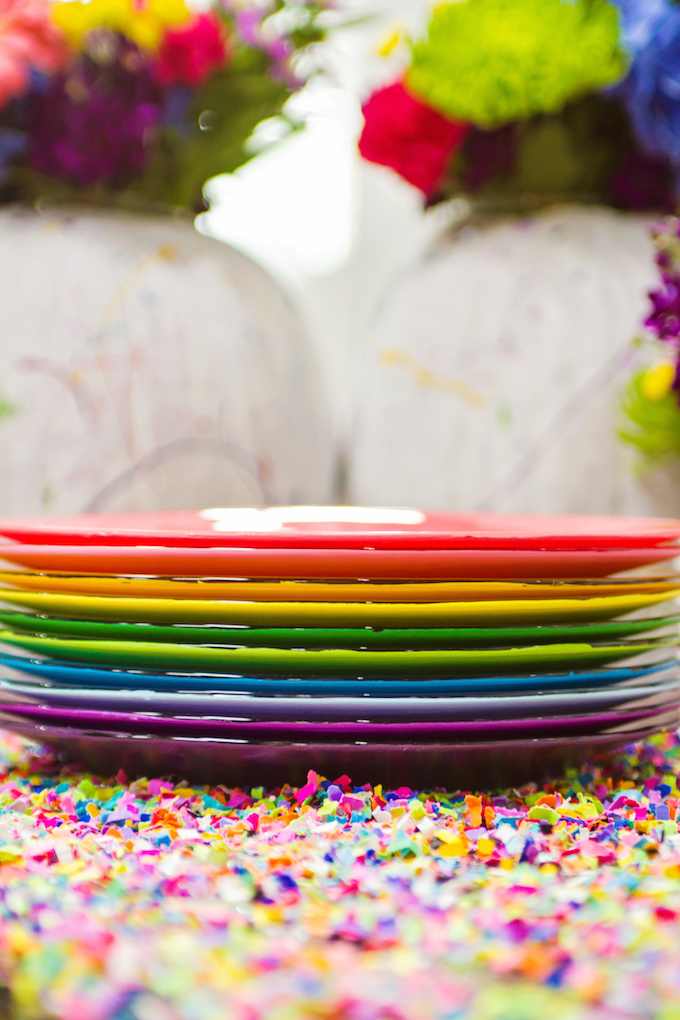
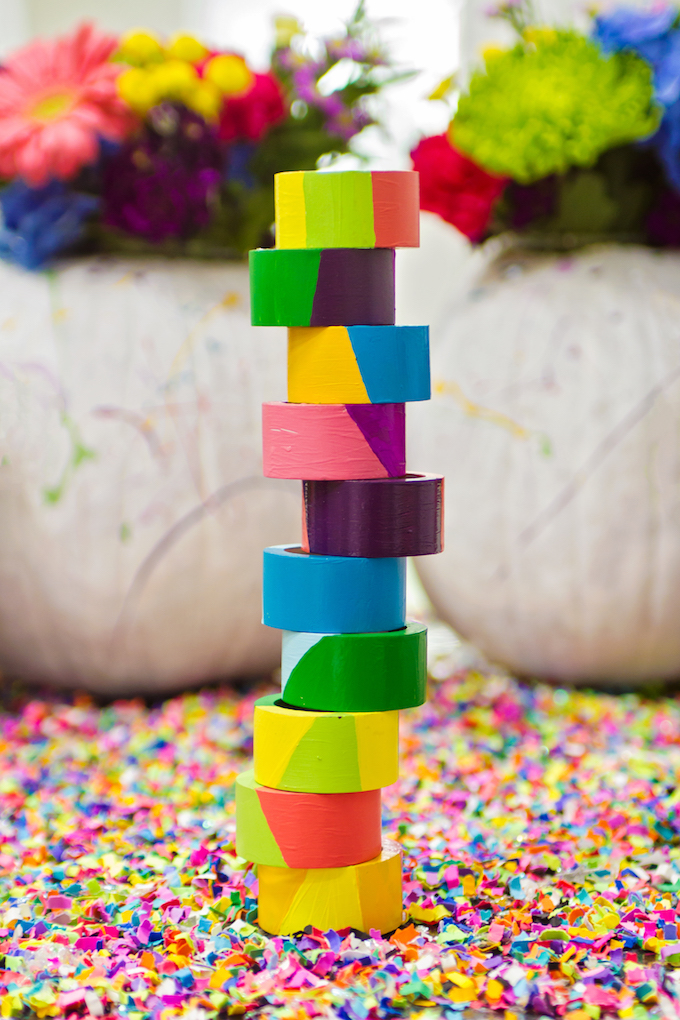
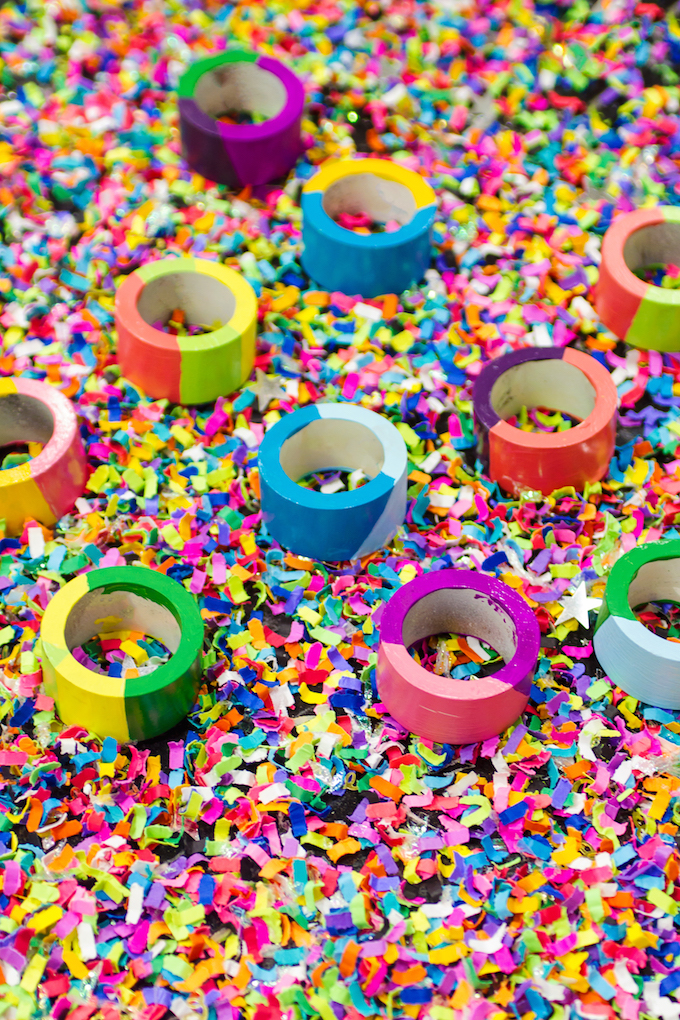
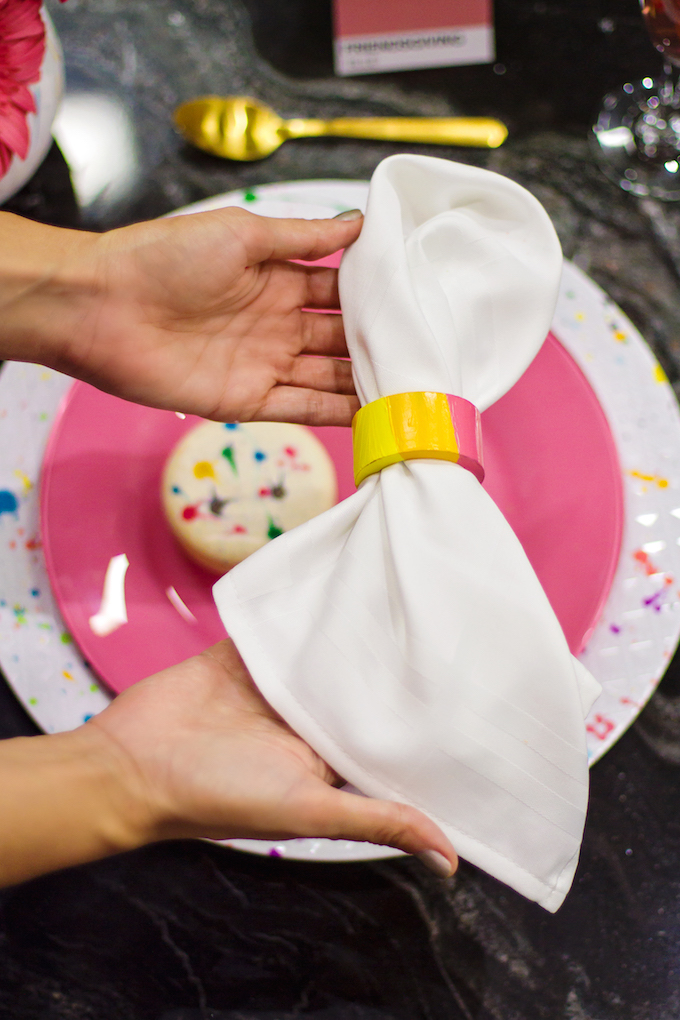
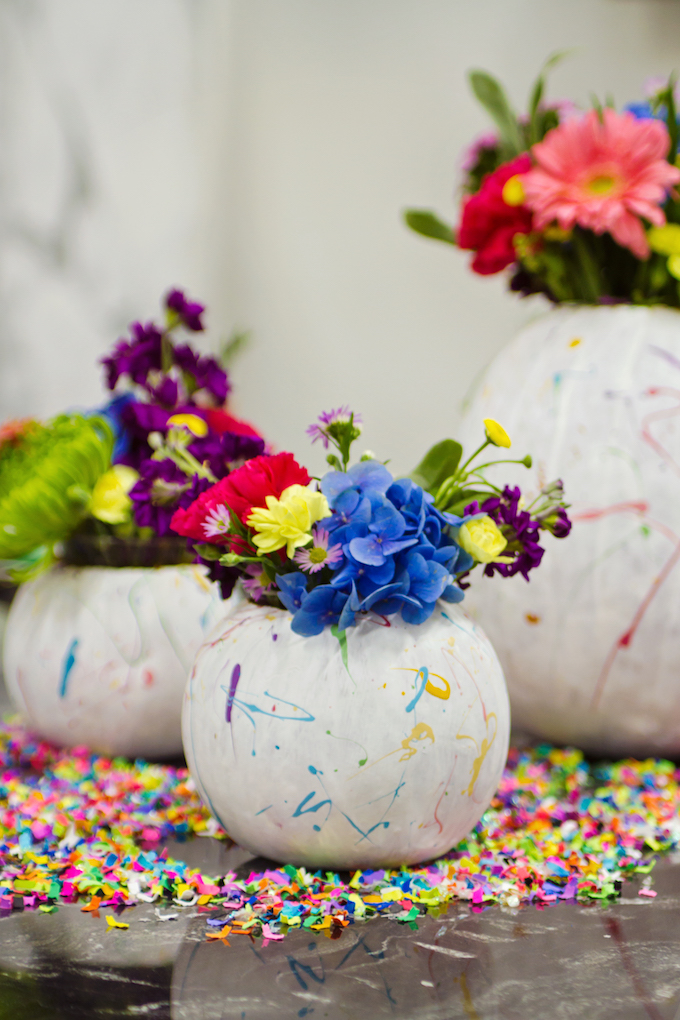
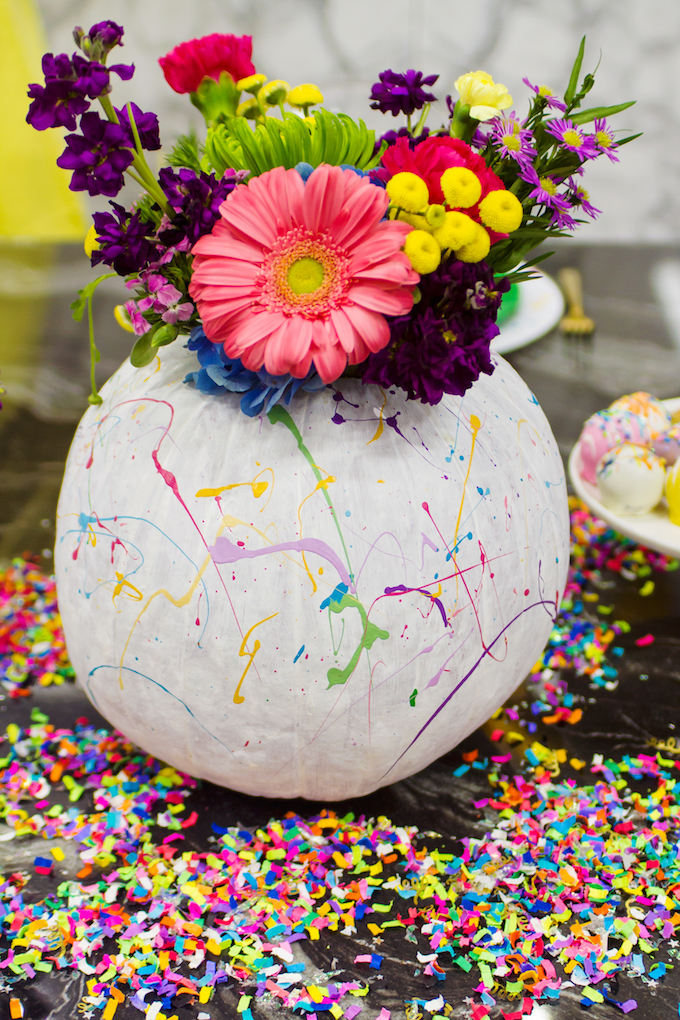
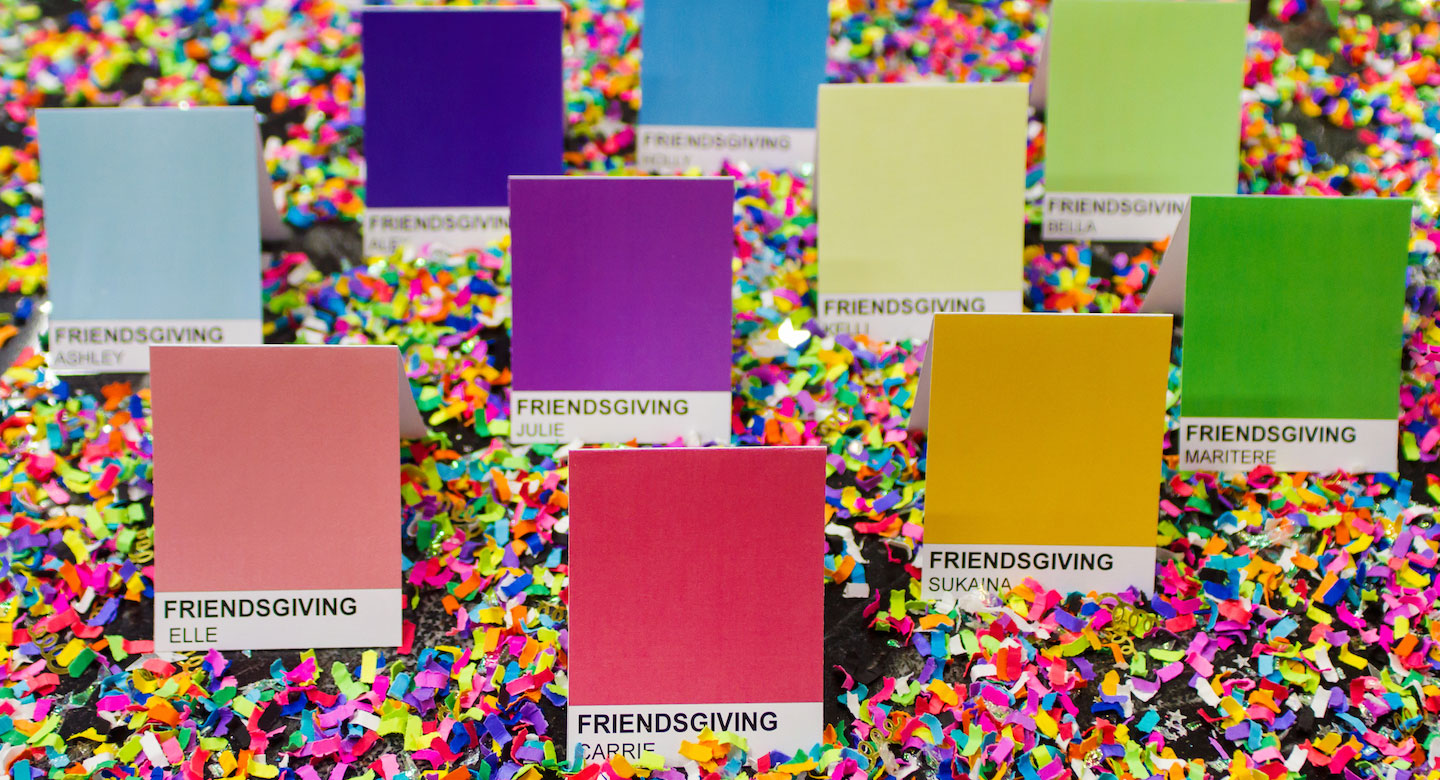
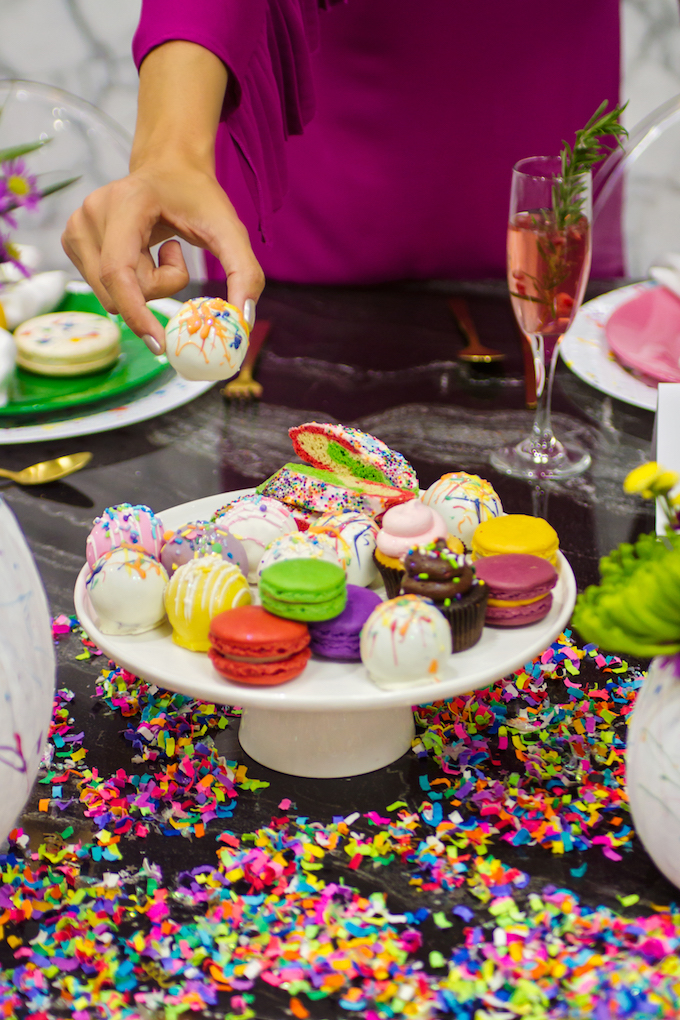
And below you can see what our DIY contributor Holly Wade worked up for the shoot, along with six tips on how to host your own pop art themed colorful Friendsgiving!

1. Add a little color to your plates

Your plates set the mood for your entire tablescape. So why not jazz them up? You can purchase inexpensive plastic white chargers and give them a splatter paint touch. As well, glass plates don’t have to remain as you purchase them. Instead, paint them different colors so there’s a rainbow around your table.

Splatter Painted Chargers

Instructions

Since our Friendsgiving theme was pop art inspired incorporating a rainbow of colors, these simple, fun-to-make splatter painted chargers were the perfect way to accent the colors beneath solid-colored plates.

Step 1: Lay out the chargers on a large drop cloth or similar (I used a shower curtain) to protect your floors. Do this outside if possible to avoid a mess.

Step 2: Add a little acrylic paint to each cavity of a paint tray. Use the paint brush to mix in several drops of water (start a very small amount) to dilute the paint. It needs to be thin enough to splatter easier.

Note, test splatter-ability on a piece of paper and add more water or paint as needed.

Step 3: Alternate colors and splatter each charger from about 12 inches away. Repeat until you’re satisfied with the pattern. Remember that only the outer edges will be visible under a plate.

Set aside to dry for at least 5 hours until paint is completely dry to the touch. Wash gently with warm water. Not dishwasher safe.

+ print project

Items Needed

  • White plastic charger plates
  • Rainbow acrylic paints
  • Paint brushes
  • Paint tray
  • Drop cloth or plastic

Painted Rainbow Plates

Instructions

In order to make these rainbow plates completely safe to eat on, the key was to paint the underside of a clear plate! This way, no knives scratching the paint and no fear of ingesting something you’re not supposed to. With the right paint, they are easy to wash, but hand washing is best with DIYs like this.

Step 1: Place plates upside down on a cup or bowl so that they are elevated from your surface.

Step 2: Use a sponge brush to apply an even layer of paint all over the underside of the plate. Let dry.

Note, I used sponge brushes to apply the paint in order to reduce the appearance of brush strokes.

Step 3: Once the first coat has dried, apply two more coats of paint and let dry completely. For best results, finish with a sealant spray.

+ print project

Items Needed

  • Clear glass dinner plates
  • Multi-surface paints
  • Sponge brushes
  • Clear sealant spray, optional

2. Think about the little details

We know, napkin rings don’t necessarily seem like the biggest deal. However, it’s going to be one of the first things your guests notice when they sit down at their chair, so misewell make them a conversation starter, such as these color blocked ones.

Color Blocked Napkin Rings

Instructions

In order to complement the splatter painted theme of our Friendsgiving set up without overdoing it, these DIY color blocked napkin rings tied together each of the colors. Wrapped around white napkins, they added a great pop of color and contrasted the plates.

Step 1: If needed, paint the entire napkin rings white and let dry completely first. This is a better base to begin with to ensure your colors come out as expected.

Step 2: Tear a piece of painter’s tape and place at an angle on the napkin ring. Add another piece to the opposite side. Repeat with another section if desired.

Step 3: Paint one color between two sections of tape. Set aside to dry slightly, then apply another coat. While still wet, remove the tape.

Note, I recommend threading the rings on a wooden dowel to dry so that they do not touch the surface and ruin the paint.

Step 4: Once the first section is dry, carefully paint in the remaining section with a second color. Let dry slightly, then paint a second coat.

Step 5: When the napkin rings are completely dry, spray with a coat of clear sealant spray if desired (recommended).

+ print project

Items Needed

  • Flat napkin rings
  • Multi-surface paint
  • Paint brushes
  • Painter's tape
  • Clear sealant spray, optional
  • White spray paint, optional

3. Carry the theme throughout your decor and think outside the box

Since we knew we were going with a pop art theme, which included some splatter paint touches, we knew we wanted to carry it throughout all our decor. So not only were our chargers splatter painted, but so were our pumpkin planters and our macarons.

And just because vases are typically what flowers go in doesn’t mean you can’t put your flowers in something else, such as pumpkins!

Splatter Painted Pumpkin Planters

Instructions

Keeping with the splattered trend of our Friendsgiving event, these splatter painted pumpkin planters filled the middle of the table. Alternating small and large pumpkins, these rainbow-inspired flower arrangements were the center of our scene.

Step 1: Lay out the pumpkins on a large drop cloth or similar (I used a shower curtain) to protect your floors. Do this outside if possible to avoid a mess.

Step 2: Paint the entire pumpkins white first. Let dry and paint a second coat. Let dry again before splattering.

Step 3: Add a little acrylic paint to each cavity of a paint tray. Use paint brushes to mix in several drops of water (start a very small amount) to dilute the paint. It needs to be thin enough to splatter easier.

Note, test splatter-ability on a piece of paper and add more water or paint as needed.

Step 4: Alternate colors and splatter each pumpkin from about 12 inches away. Repeat until you’re satisfied with the pattern. If needed, pick up the pumpkins so that the splatter reaches all over the pumpkins. Let dry completely.

Step 5: Once the paint is dry, turn the vase upside down and trace the mouth on the top of pumpkin to outline where the vase with go.

Step 6: Carve the pumpkin top and clean it out like you would a jack-o’-lantern. Place the vase inside so that it is hidden (or at least mostly hidden) inside the pumpkin.

Note, for the smaller pumpkins, we were able to use plastic cups.

Fill the vase with water and add flowers to create colorful pumpkin planters with a pretty splattered pattern!

+ print project

Items Needed

  • Fresh pumpkins
  • White multi-surface paint
  • Foam brush
  • Multi-surface paints
  • Paint brushes
  • Paint tray
  • Drop cloth or plastic
  • Knife / carving tools
  • Wide mouth vases

4. Think about photo opps

Whether we like it or not, we live in a day and age where taking photos on our phones whether for ourselves or to show on social media is prevalent! So, it’s good to think about creating a photo backdrop of sorts that will allow for a great photo opp.

Splatter Painted Balloon Backdrop

Instructions

The backdrop of our Friendsgiving was a beautiful slab of marble, but since it seemed a little bare for our colorful set up, we added gold splatter painted balloons that spelled out “thankful.” This is a simple DIY the seemed to complete the scene and tied together the gold flatware.

Step 1: Lay out the uninflated balloons on a large drop cloth or similar (I used a shower curtain) to protect your floors. Do this outside if possible to avoid a mess.

Step 2: Add a little acrylic paint to each cavity of a paint tray. Use the paint brush to mix in several drops of water (start a very small amount) to dilute the paint. It needs to be thin enough to splatter easier.

Note, test splatter-ability on a piece of paper and add more water or paint as needed.

Step 3: Alternate colors and splatter each charger from about 12 inches away. Repeat until you’re satisfied with the pattern and let dry.

Step 4: Once dry, inflate each balloon and tape the inflation hole out of sight. Use double sided tape (or regular tape) to stick the balloons to a wall.

+ print project

Items Needed

  • Gold mylar letter balloons
  • Multi-surface paints
  • Paint brushes
  • Paint tray
  • Drop cloth or plastic
  • Double sided tape

5. Add personal touches

Place cards aren’t always necessary, but it can take the stress out of figuring out where to sit. And it’s especially fun to do place cards if they’re cute and a fun little takeaway. You can download a printable here to create your own Pantone chip Friendsgiving place cards.

6. Include a signature cocktail

Of course, a glass of wine or a vodka rocks is great on its own, but it’s always nice to have a signature cocktail available that feels special and unique to the event in which you’re hosting. As well, if it’s a pretty one, it can serve as decor, too!


Pomegranate Rosé Spritzer

Instructions

A colorful Friendsgiving wouldn’t be complete without a cocktail to match! This simple pomegranate rosé spritzer is the perfect drink for any get-together this season because it’s light, refreshing and easy to serve. Served in a champagne flute with pomegranate seeds and a sprig of rosemary, it’s as pretty as it is refreshing.

Not to mention this spritzer has a light pink tint to it that’s perfect for our Friendsgiving party! And how cute are these gold splatter drink stirrers?!

For large batches, combine one bottle of rosé with 20 fl. oz. of sparkling pomegranate water, or to taste.

Stir gently in a large pitcher with the seeds of 1-2 pomegranates.

Pour drink into champagne flutes and use a spoon to distribute the pomegranate seeds into the glasses. Finish with a rosemary spring if desired.

+ print recipe

Ingredients

  • Rosé
  • Sparkling pomegranate water
  • Pomegranate seeds
  • Rosemary sprigs, garnish

Uber for your holiday parties

And speaking of alcohol, we’re all about enjoying drinks at the holidays, but what we’re not all about is drinking and then driving. In fact, at Carrie’s holiday party last year, rather than hire valet parkers, she used Uber to take her guests to and from the party. That way, she was able to ensure everyone got there and back safely and without stress. Between the convenience, reliability, and safety, there’s really never a reason to not use Uber, especially when you know you’ll be enjoying cocktails.

A couple features that are useful for the holiday season

1) Gift cards : Did you know you can send gift cards via Uber? It’s a nice holiday gift idea, and the next time your friend is taking Uber, he or she will have a nice treat at the end of the ride.

2) Sharing ETA and trip status : It’s so nice to be able to share your ETA with the person you’re meeting, and it’s also nice to be able to share your status when you’re on your way home, so the person you were with or who you’re going home to knows when you’re safe and sound.

Aria Stone Gallery

Finally, we were thrilled to be able to host our Friendsgiving at Aria Stone Gallery in the Decorative Center here in Houston. If you’re looking to build or re build a home, you should definitely check out Aria Stone (they have a showroom in both Houston and Dallas). The agata granite in our photos you can find here and the statuario marble you can find here.

A Few More Things

Thank you to Uber for sponsoring this content. Sponsorships like this help make creative content like this possible. Thank you to our community for supporting us and our sponsors by clicking on links shared here and by doing business with our sponsors.

Thank you to Aria Stone Gallery for allowing us to use your beautiful space.

And, finally, we had a bit of a technical glitch yesterday, so in case you missed our Friday article, be sure to check it out here or you can easily access it from the recent posts page, as well. It’s all about how Carrie styled our Splendor Made products! Have a great Saturday and we’ll see you back here tomorrow.


Confetti by The Confetti Bar (shop our confetti here at Splendor Made), drink stirrers by Post Studio Projects, large splatter macarons by Macaron by Patisse, and splatter cake and various sweets by Petite Sweets.

Leave a Reply

Your email address will not be published. Required fields are marked *